
That said, I didn't take the time to meticulously document the game, but just snapped some pictures here and there of things that looked interesting and I thought I'd share the results.

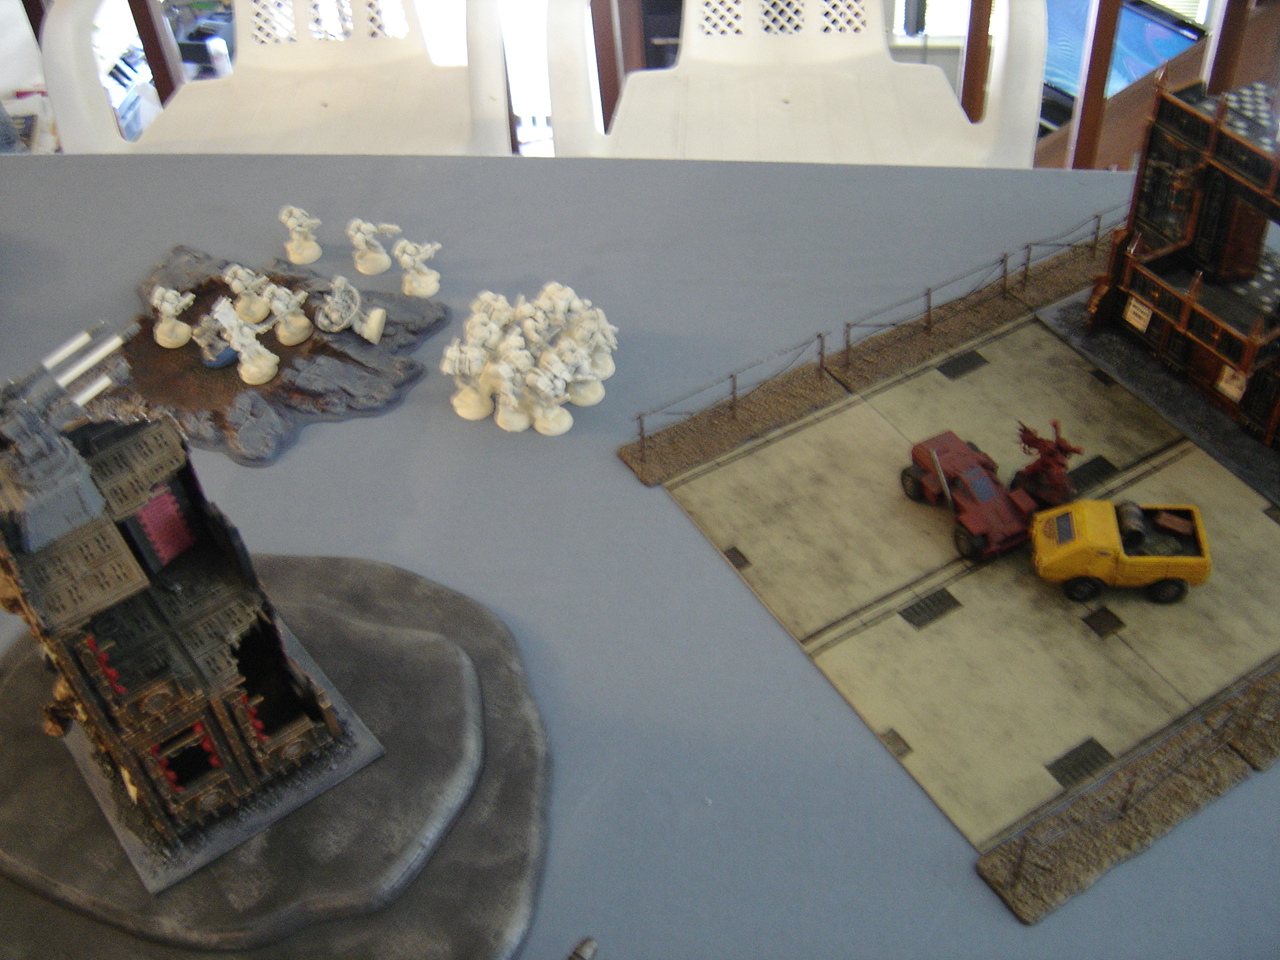
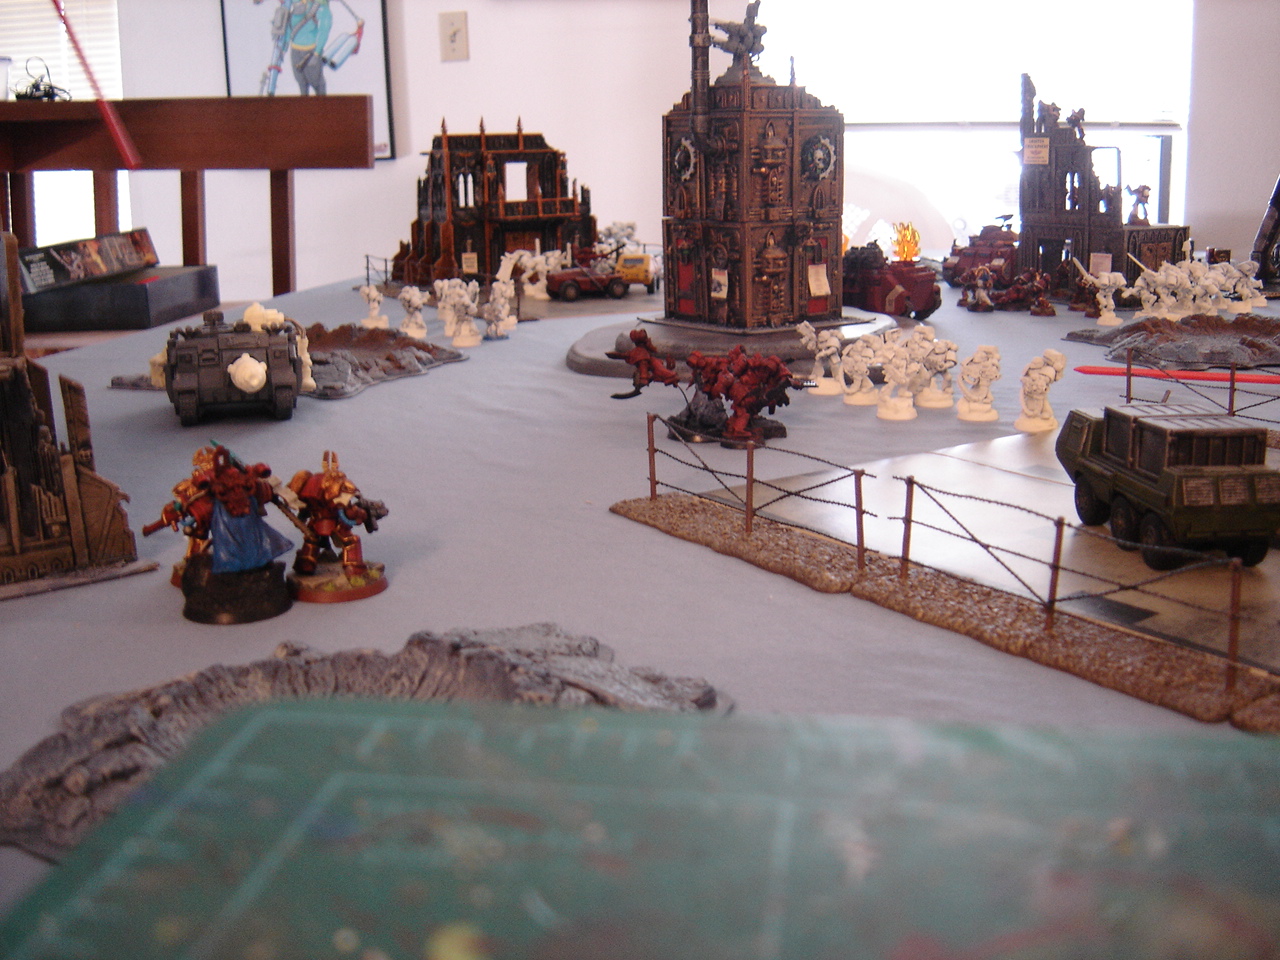
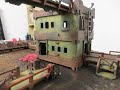
We set up a standard 6'x4' table, and I tries to simulate the terrain setup based on pictures from previous events. Compared to my usual style of setup, the table seemed really barren so I added a couple craters and fences just to give it a better look. We rolled off and got the spearhead deployment (table quarters) and 4 objectives with the Seize Ground mission. An interceptor gun in the center counted as the first objective, and the remaining objectives were represented by a trio of Flesh-changed Thousand Sons that I'd banged together out of some Possessed sprue leftovers.
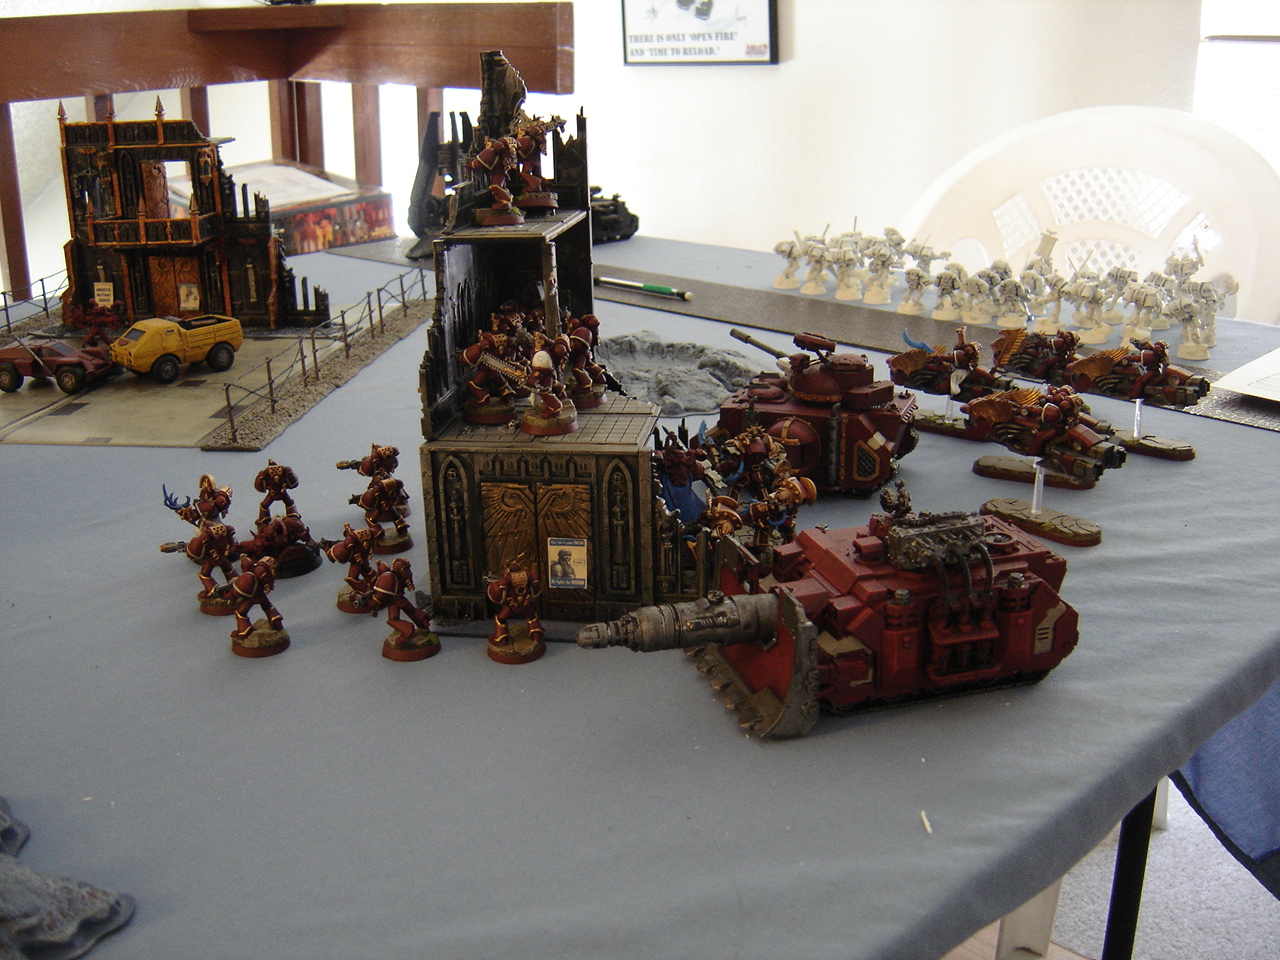
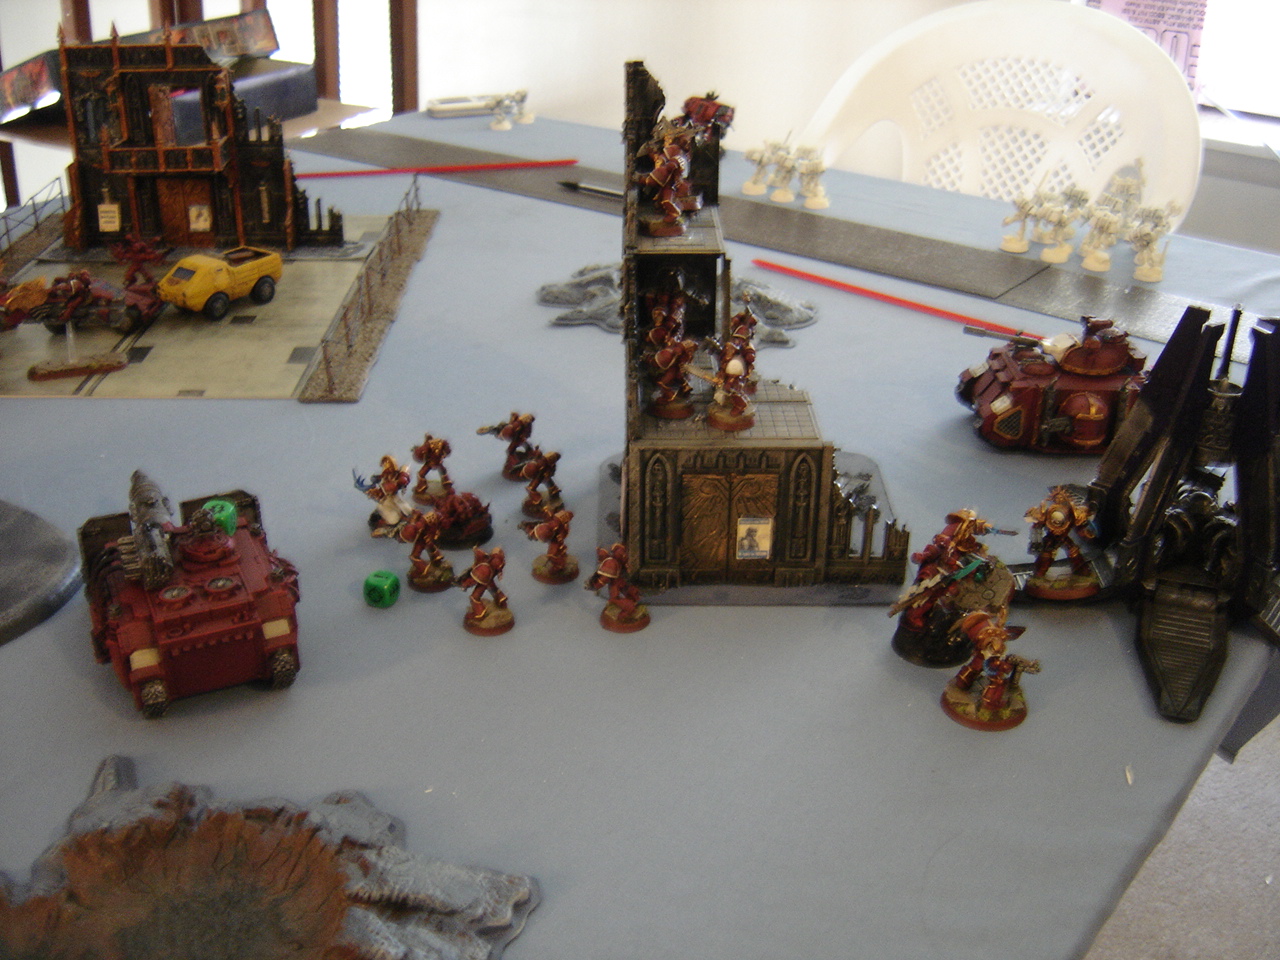
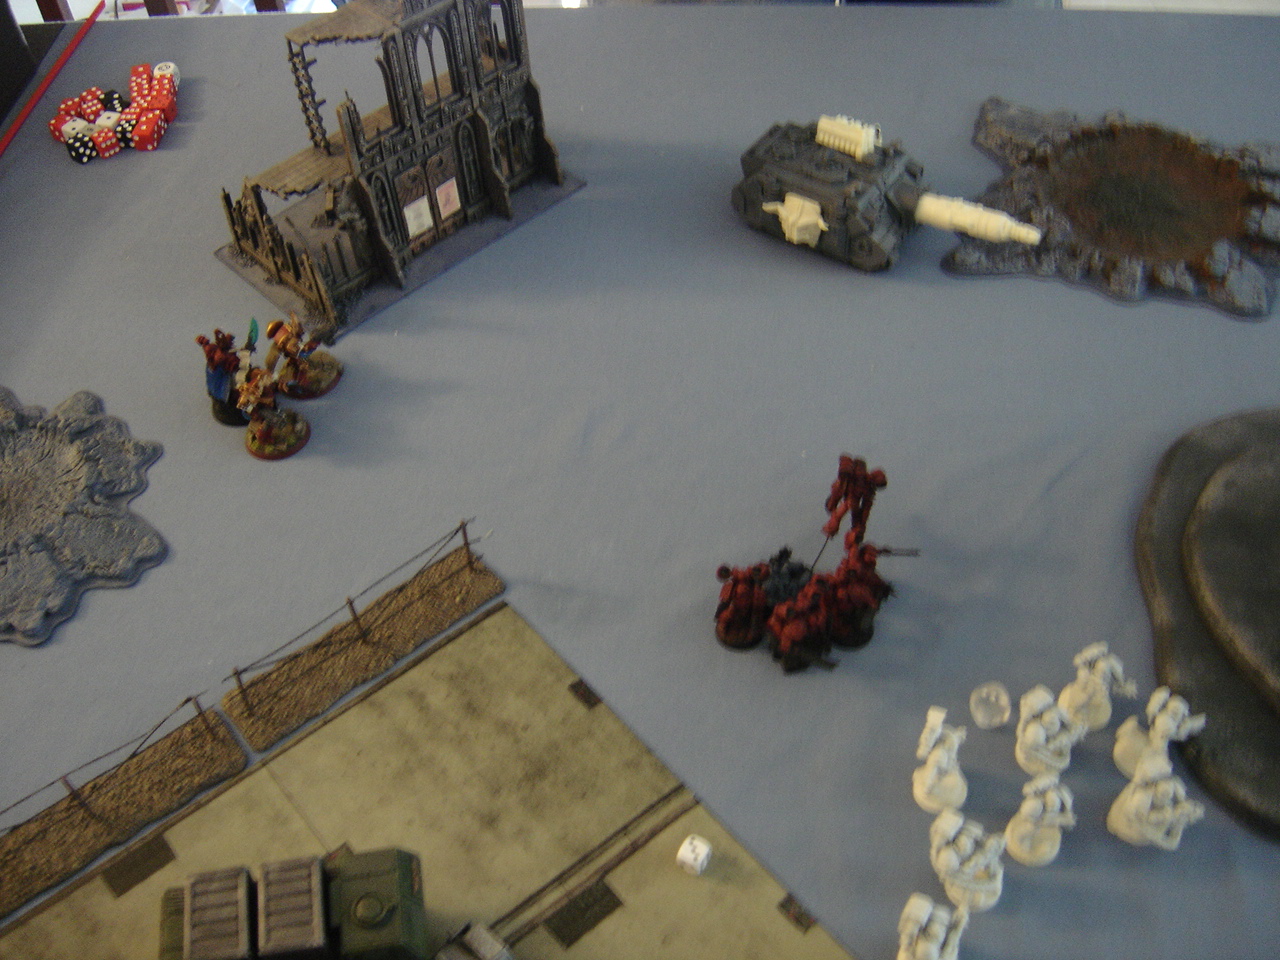
The Thousand Sons castled up around one building and objective on my right flank, while the Blood Angels gathered around the leading edge of his deployment zone, eager to get to grips with my army. We each had a number of units in reserve, and both happened to take our Sabre Tank Hunters. Looked to be a duel of the big guns on that front!
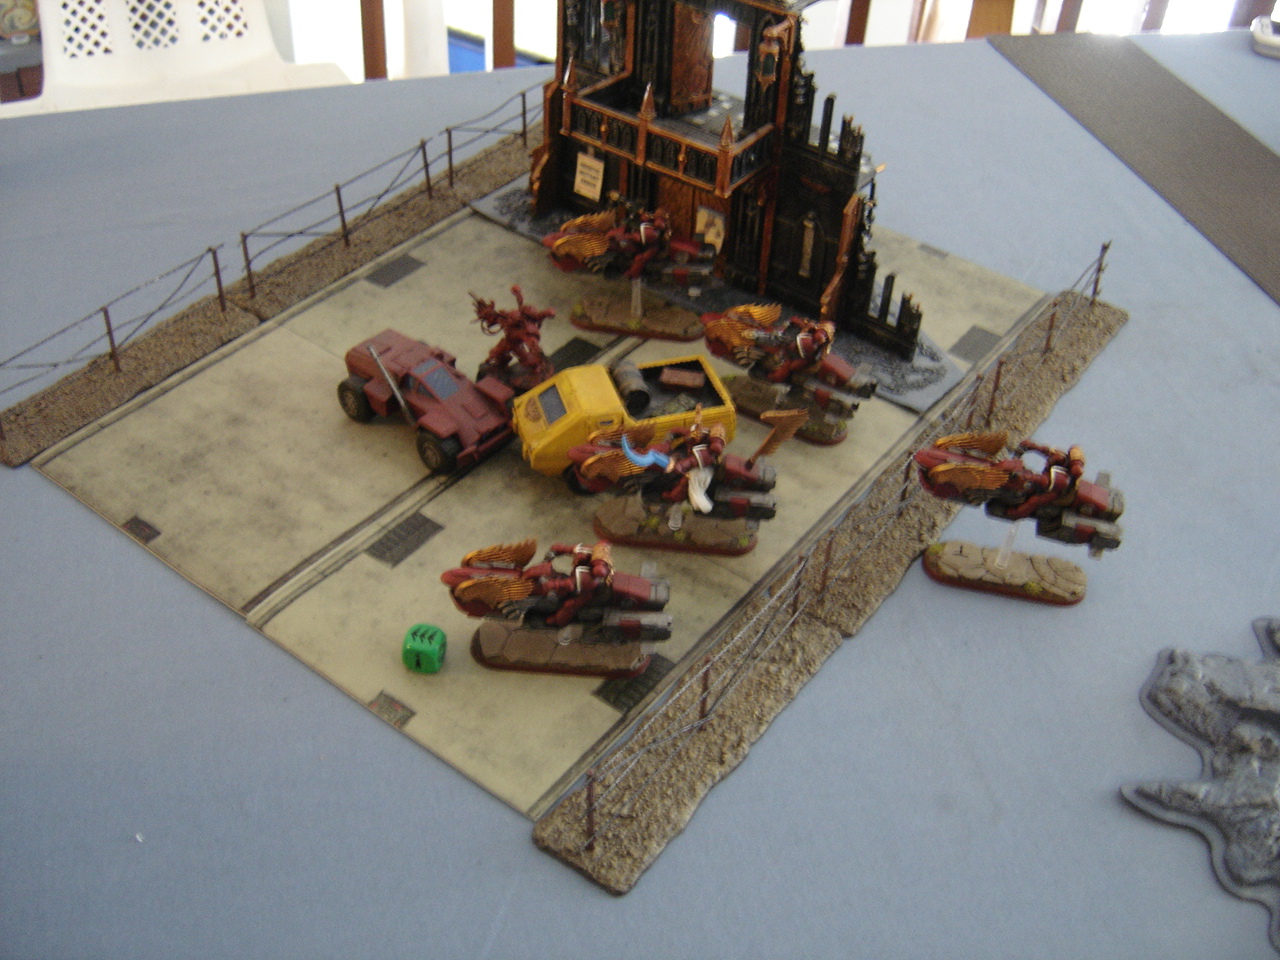
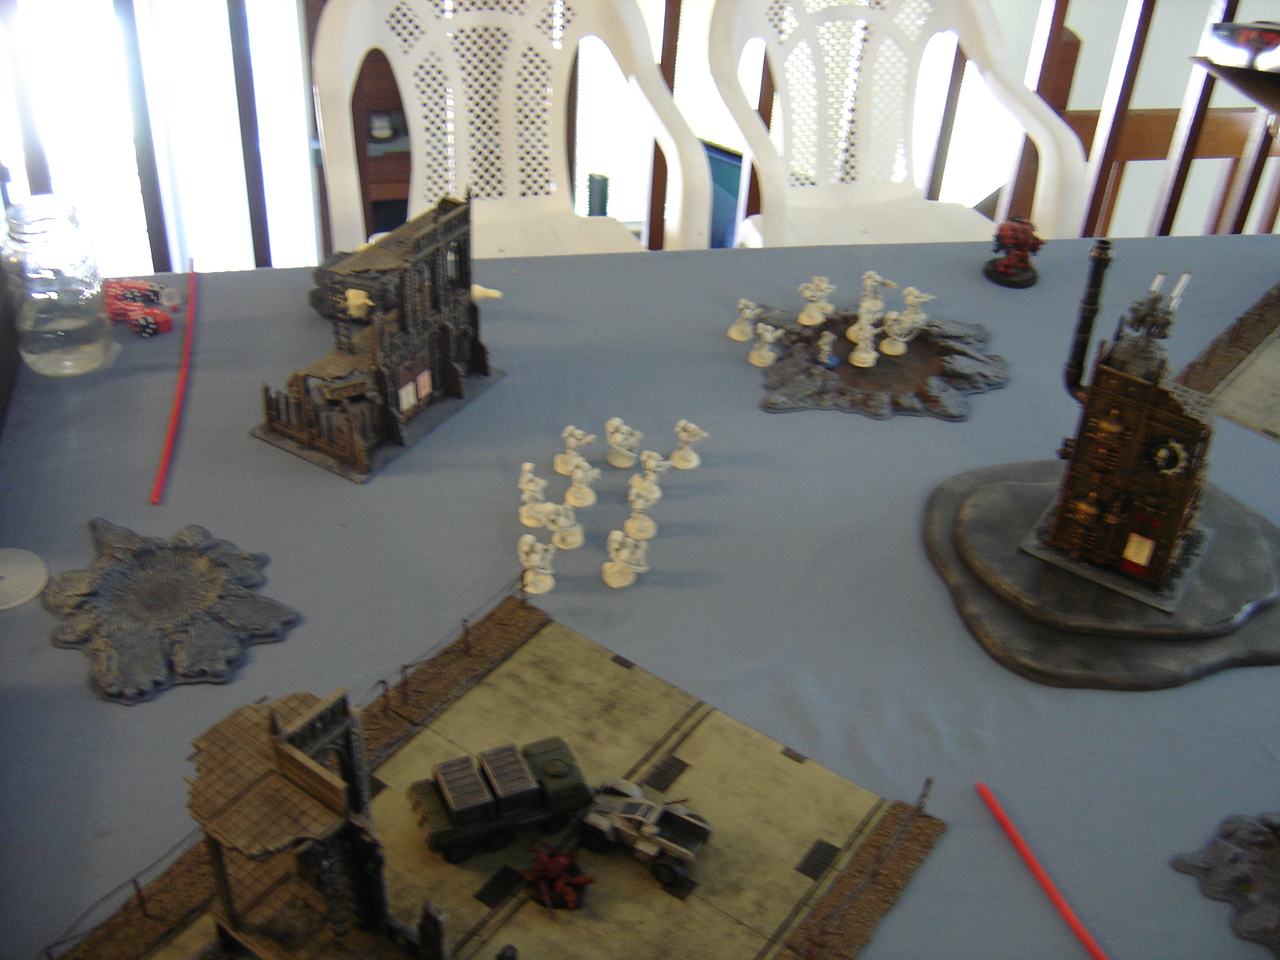
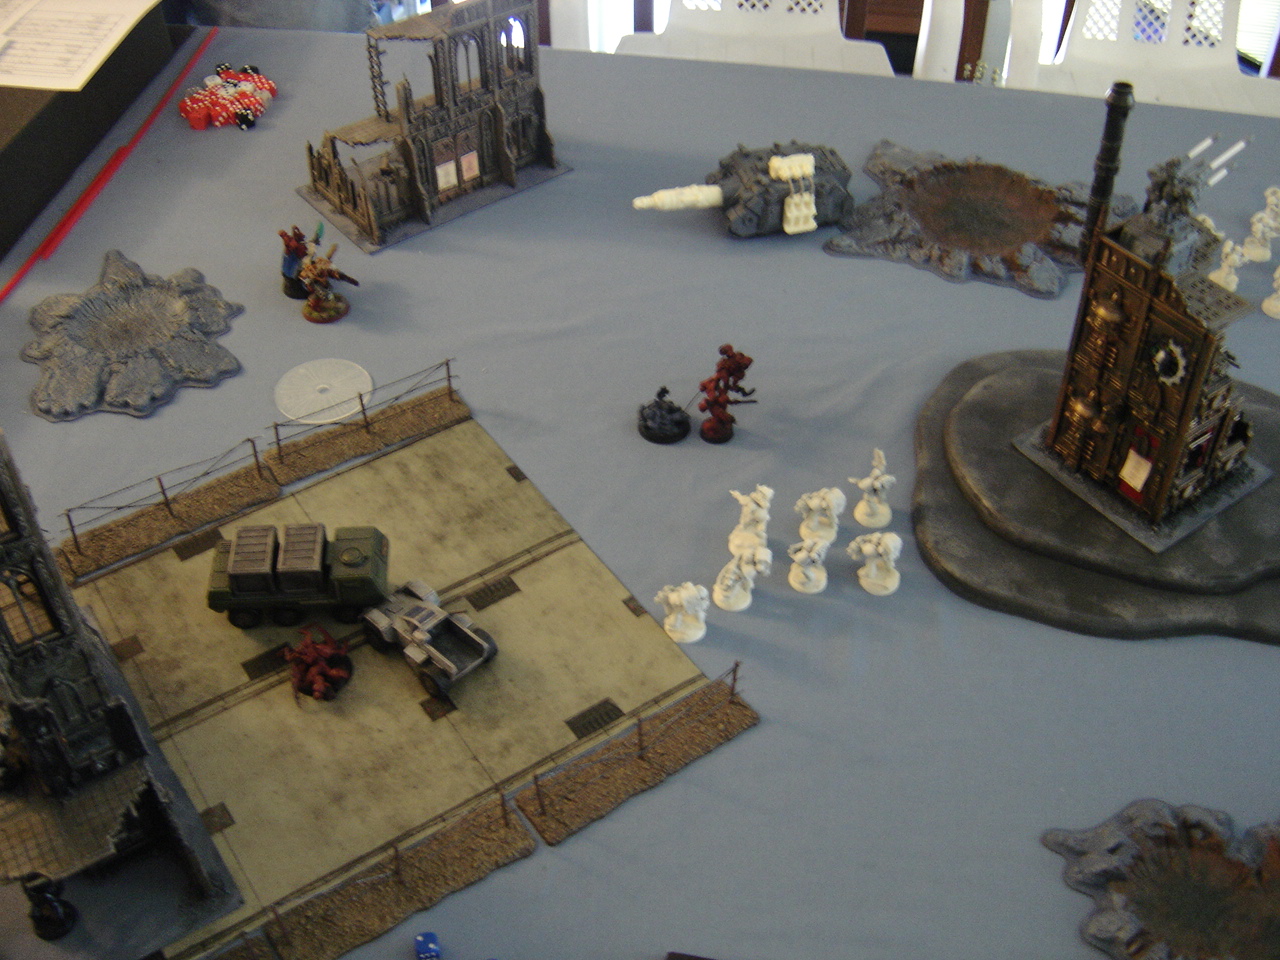
In my first turn, the Jet Bikes turbo boosted forward to contest one of the objectives on the far side of the table. My intent was to use their Locator Beacon in combination with the Sorcerous Portal psychic power to teleport a Tactical squad over and hold the objective, but due to poor deployment on my part, this didn't actually work out as planned. On the other hand, that's exactly the sort of thing we were playing this game to discover - what works, what doesn't, what needs to happen in what order, etc.
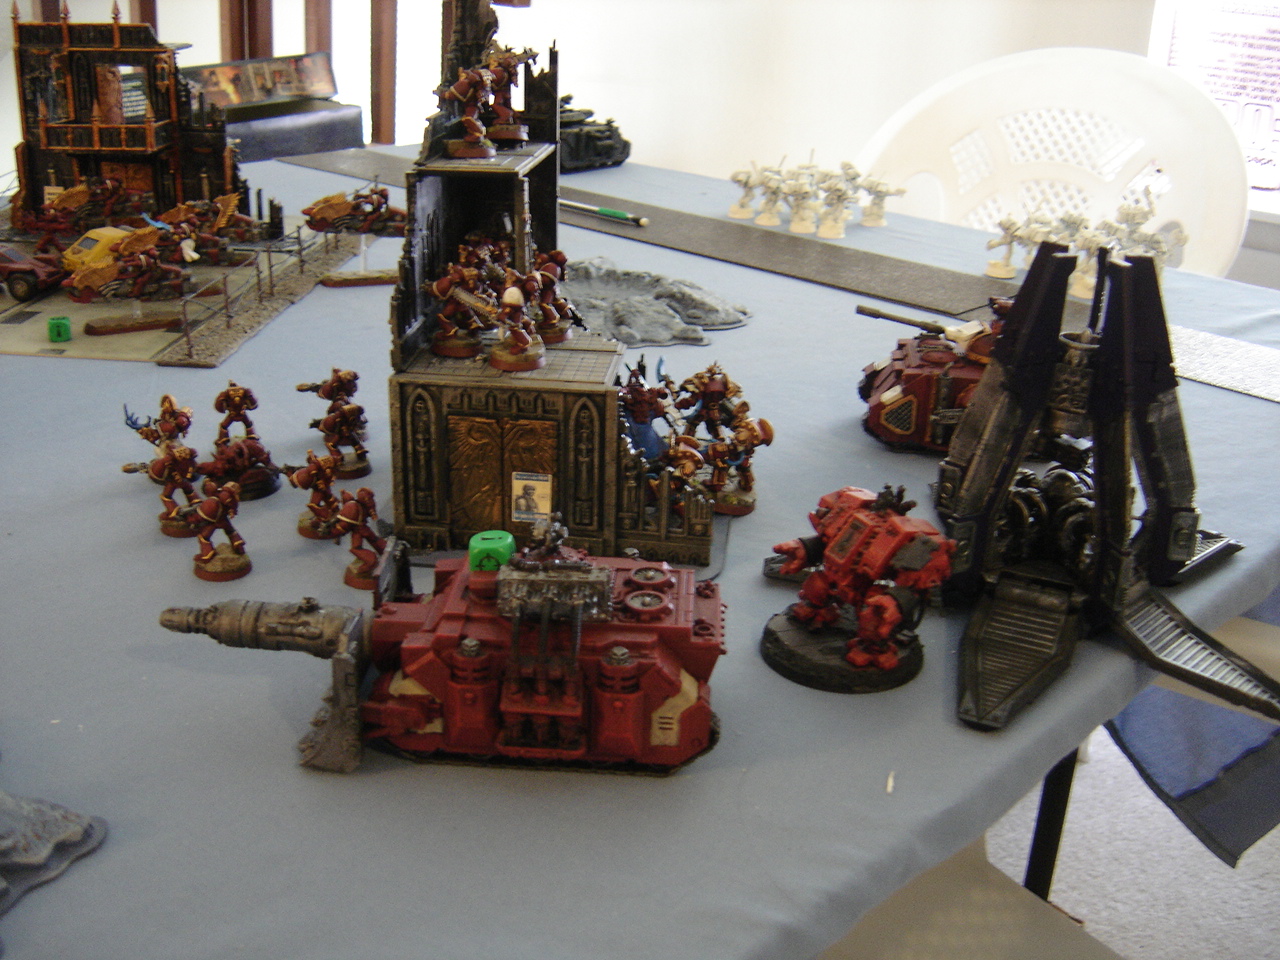
In the Blood Angel's turn, he managed to get a Furioso in my backfield via drop pod, and with a combination of magna-grapple and meltagun blew the Sabre's cannon apart. Left with no weapon, it was relegated to mobile cover status for the remainder of the game. In retaliation, Ahriman and his bodyguard of chainfist-wielding Terminators managed to destroy the Furioso. Mostly lucky dice on my part though, that combat could have easily gone the other way!
A squad of Blood Angel assault marines did a pinpoint drop and in a single round of shooting managed to completely annihilate the jet bikes. A unit that I'd just finished painting the day before and that I was rather proud of, washed off the table in the second turn. Seems like that's how it always works!

On the heels of that devastation, he also Outflanked with his Baal predator, right into the side of the rhino carrying my second tac squad. Tzeentch was with me however, and he failed to damage the rhino with the assault cannons, heavy bolters or the storm bolter. In the following turn the tac squad disembarked and got a lucky shot in with a krak grenade in the assault phase (after the meltagun missed from an inch away), destroying the Baal, much to his surprise.

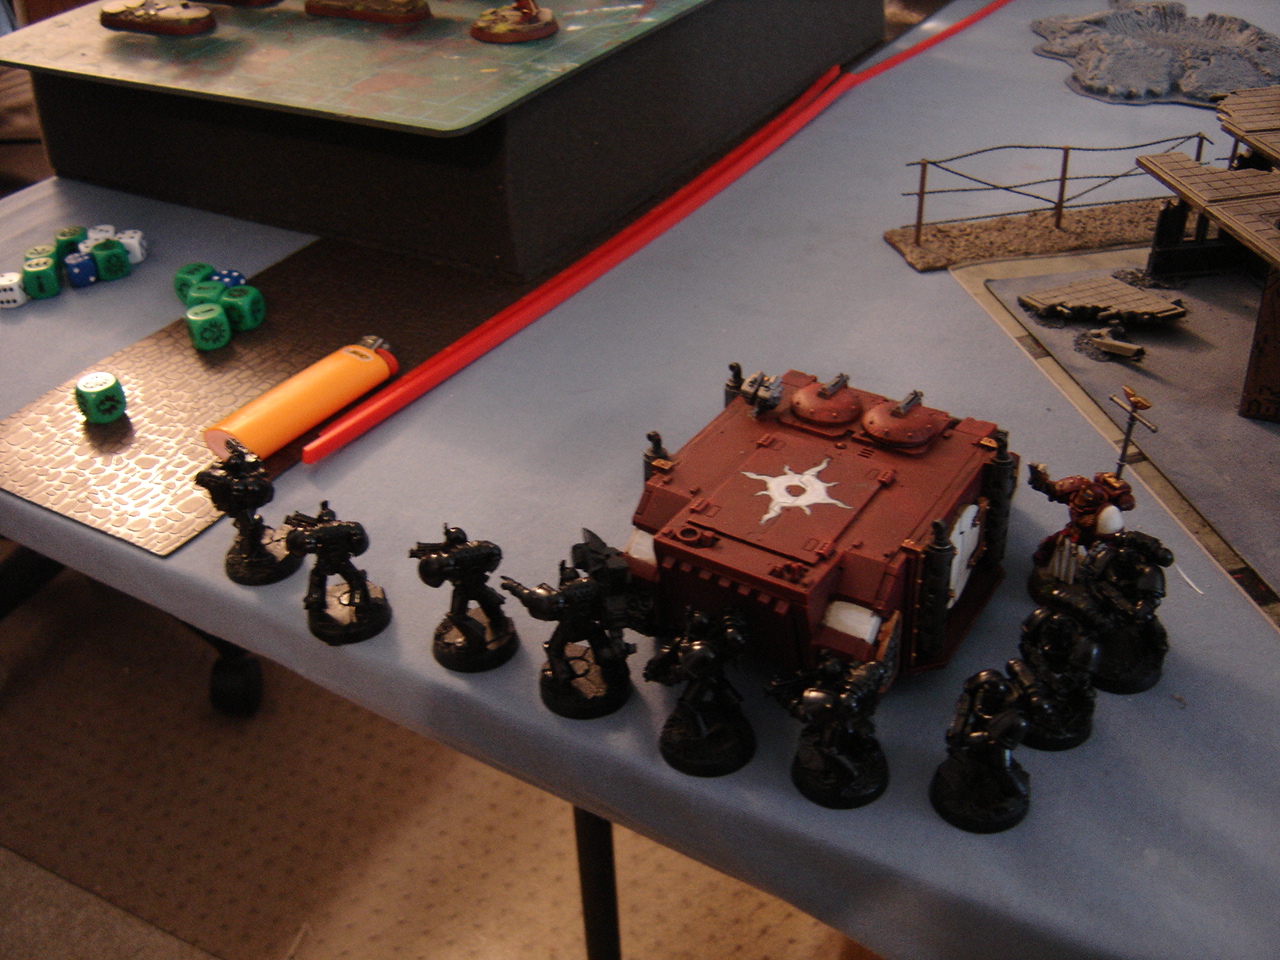
Ahriman used his Gate of Infinity power to pound forward, and weathered an absolute HAIL of fire from the heavy bolter-toting devastator Squad, absorbing something on the order of 20 hits for the loss of a single terminator. The intent was to continue to bound forward and get the chainfists into contact with his Sabre in a subsequent turn.
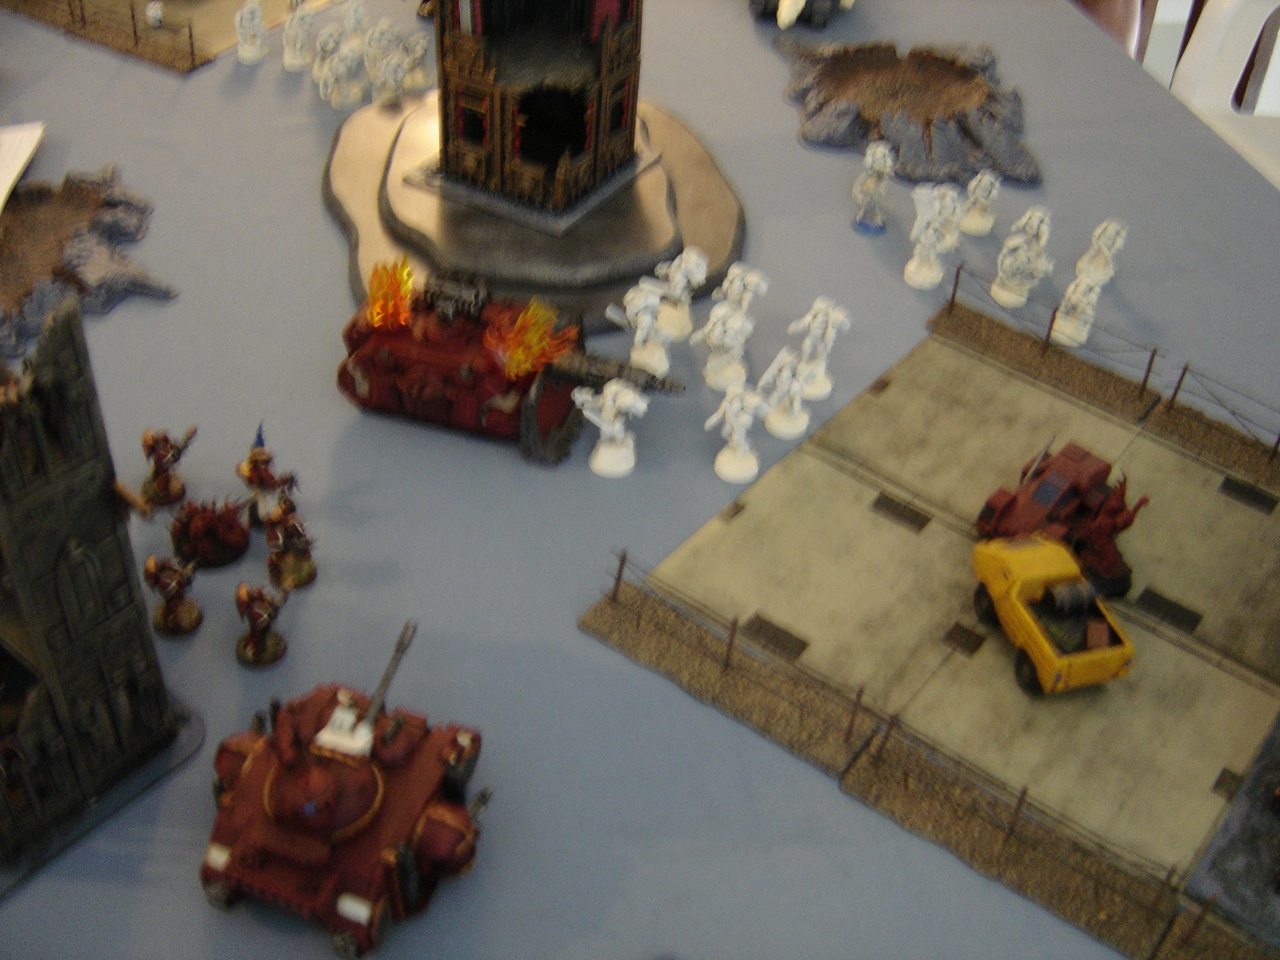
The Blood Angel assault squad continued forward, valiantly holding their ground and perfectly executing a Death or Glory attack on the neutered Sabre which attempted to Tank Shock them. Melta bomb, max penetration roll, 6 on the damage chart. Kaboom!
Tzeentch's favor turned against me for the remainder of the game unfortunately. Ahriman and his terminators scattered 11" away from their intended arrival point, putting them well away from their target. I forgot the Thousand Sons assault veterans could use Heroic Intervention, so instead they landed and completely failed to damage the Devastator squad that was their target with some desultory bolt pistol fire.
The Blood Angel Sabre pivoted to bring its Neutron Laser to bear on Ahriman, and the devastators casually spun in place to mow down the Thousand Sons assault squad. Another terminator was reduced to molten slag, and nearly all the assault marines were cut down in a hail of heavy bolter fire.
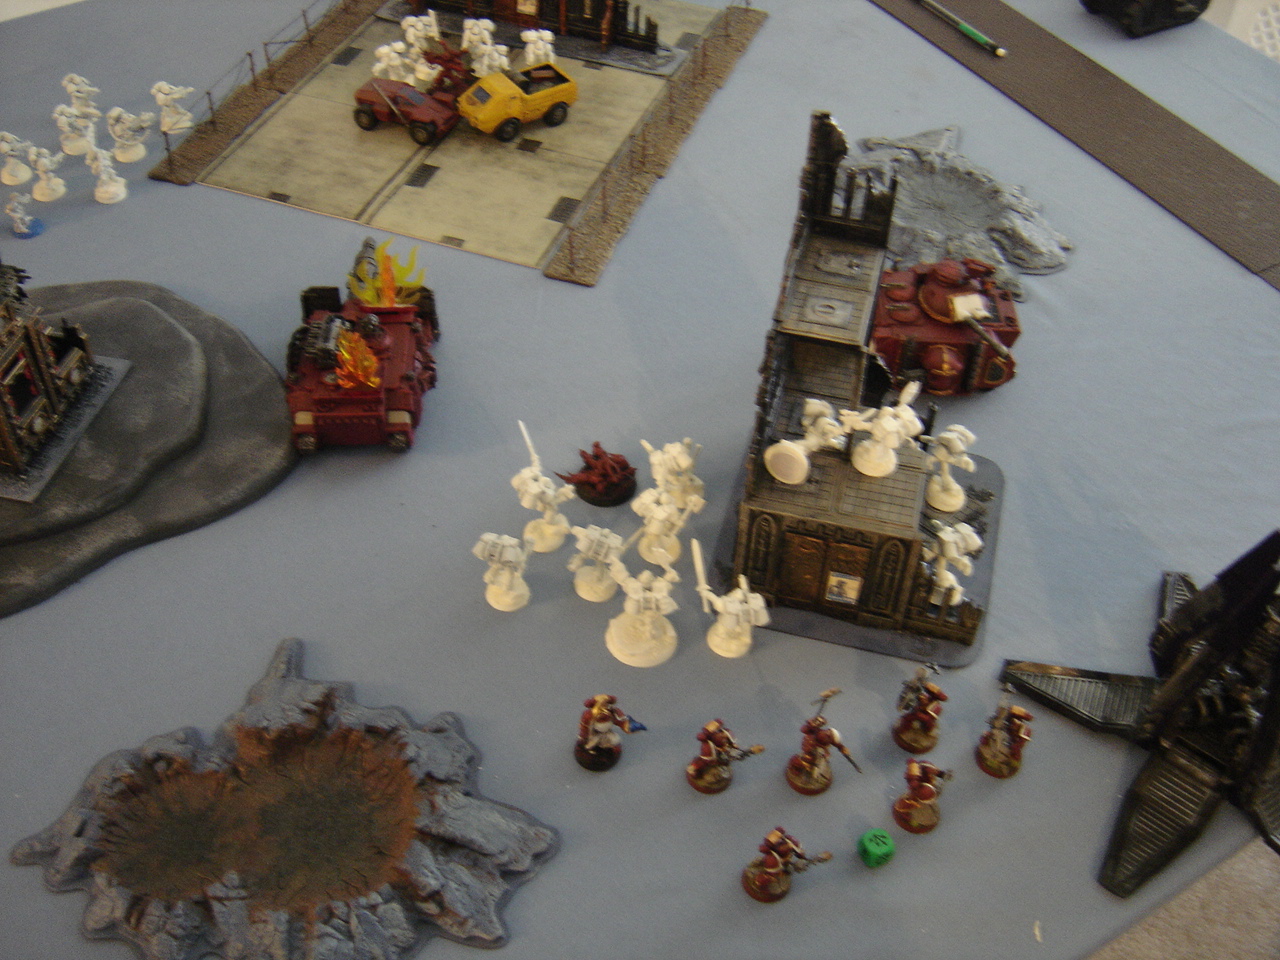
The slaughter continued on the right flank. The Blood Angel's last assault squad had been lurking in reserve for three turns but finally was able to enter the fray, dropping into the backfield - another thing that I failed to do during the game was to destroy the drop pod, whose locator beacon allowed the assault squad to come down with pinpoint accuracy. Doh! The squad did massive damage to the Thousand Sons investing the building, and they broke and fled from their assault.
At that point we had to call the game at 2 hours. Well, technically we managed to get 4 full turns done in 1 hour and 50 minutes which we both agreed was a bit too slow and was a function of not knowing the lists as well as we needed to. Not too bad though - with a little practice and some cheat sheets to help me remember what phases the numerous psychic powers need to be done in, we should be able to bring the time-per-turn down to the point it needs to be.
The end result was a complete and utter Massacre of the Thousand Sons. Given another turn I may have been able to take one of the objectives on the left flank that was more or less unguarded, but the Blood Angels had two objectives in hand and uncontested. Not the most auspicious beginning for the tabletop career of my Thousand Sons, but I claim a moral victory as nearly all of my models were painted (or at least had SOME paint on 'em)!


.jpg)


No comments:
Post a Comment